| Info |
|---|
Learn more about widefield microscopy: ZEISS Celldiscoverer 7: Your automated platform for live cell imaging |
Frequently Asked Questions:
How do I save and access my data?
Save the data in:
→ open the driver data (D :) “Data_Bioimg”
→ open folder with your Weizmann user name
→ open a new folder with the date (crucial)
→ save the data (characters like ~!@#$%^&*()`;’:<>,/?[]{} are not allowed, and files including them are not copied)
Once you are done, the computer will synchronize the correctly saved data to the “bioimg” server.
To see the data on your PC, follow the instructions in this link: BioImg Storage Server system.
**When starting to work with the Bioimaging system for the first time, please make sure you have a UNIX ID added to your WIS ID (you can check it with your unit administrator)
How do I stitch my tile data?
Go to:
Processing → Method: “stitching” → settings: “1*” → click “New Output” →
Check “Fuse Tiles” + “Correct shading.”
How do I split sense?
Go to:
Processing → Method: “split sense.”
How can I visualize the data on my pc?
Download ZEN LITE
Or you can work on “Maui” or “Capri”, read more on our Image Analysis Software and Workstations.
| Tip |
|---|
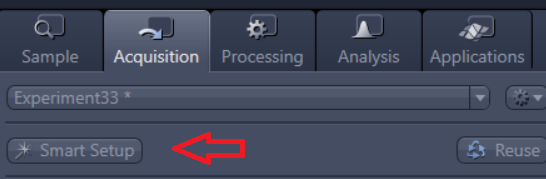
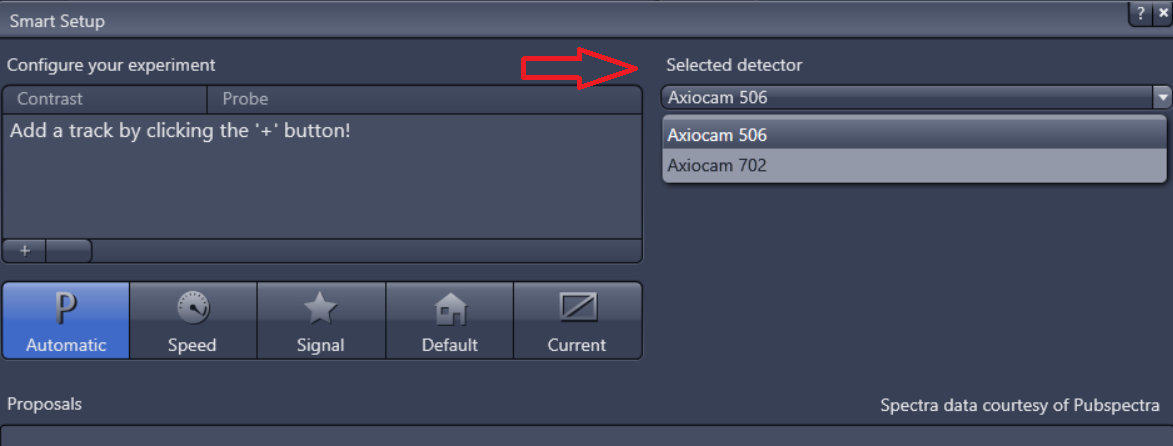
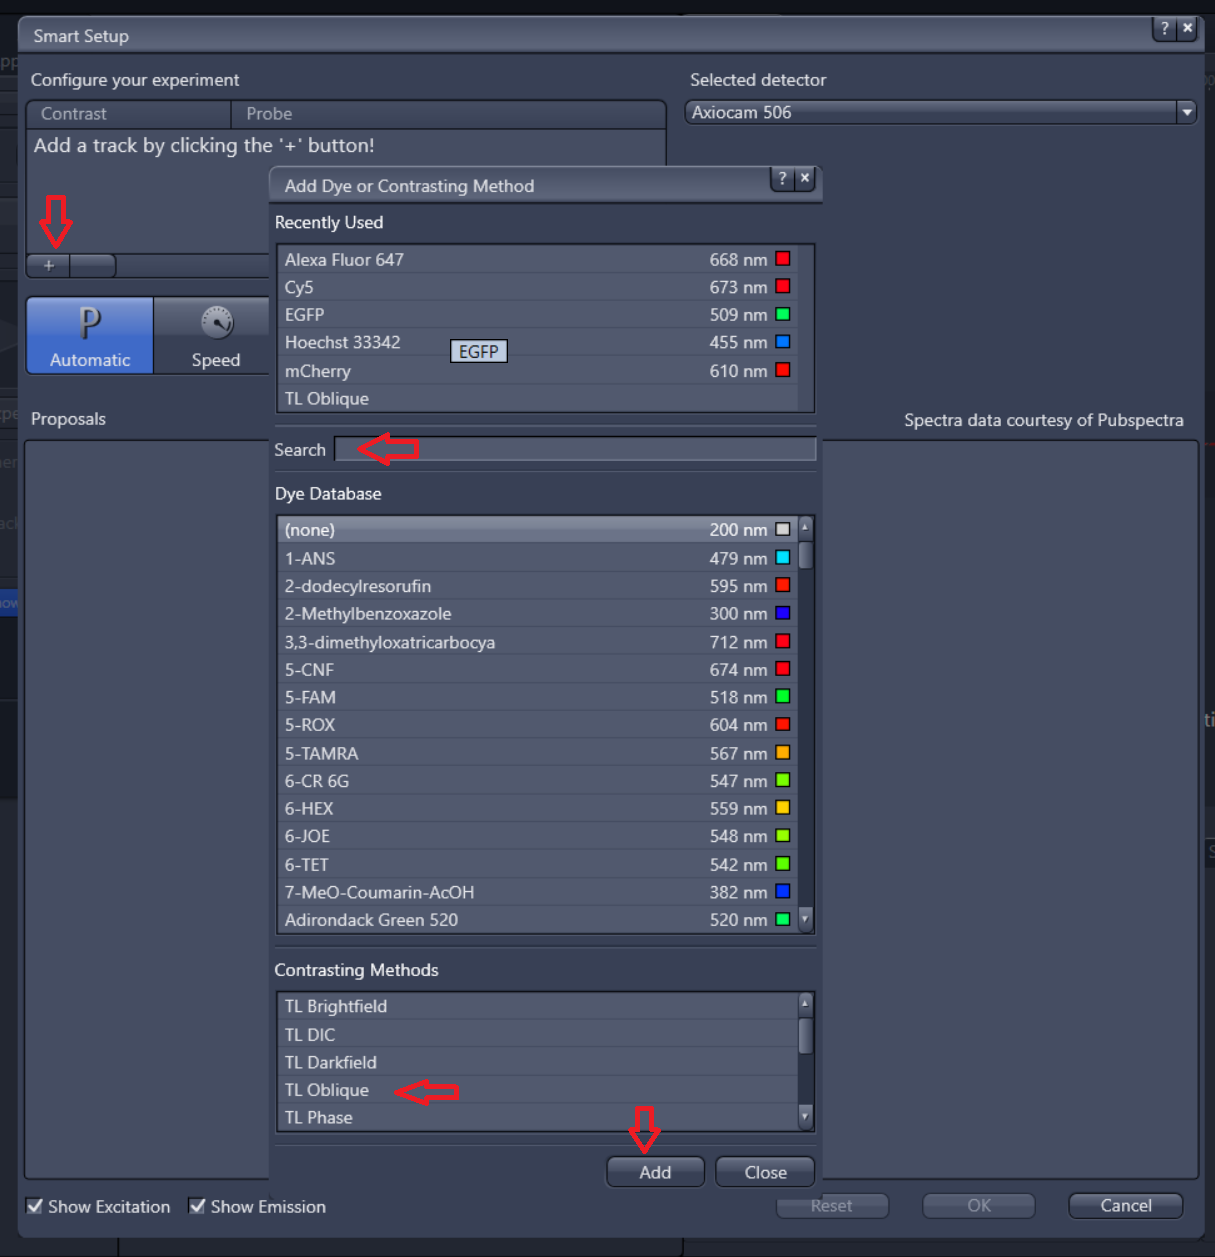
How do I start?
|


| Warning |
|---|
How to turn OFF the microscope?
|

| Info |
|---|
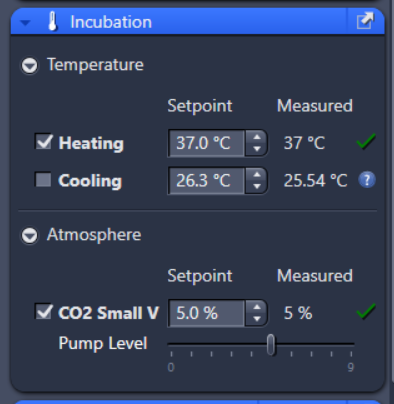
Fully integrated high-end automated live cell imaging system that enables high sensitivity and focus focuses stability in live-cell experiments (imaging period: days)
|
...