Versions Compared

Key

  • This line was added.
  • This line was removed.
  • Formatting was changed.
Info

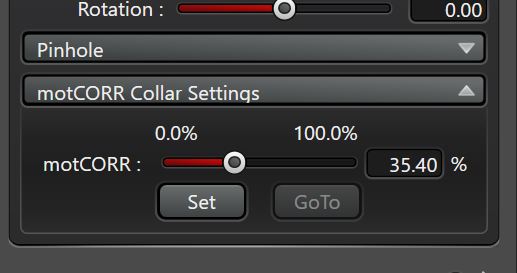
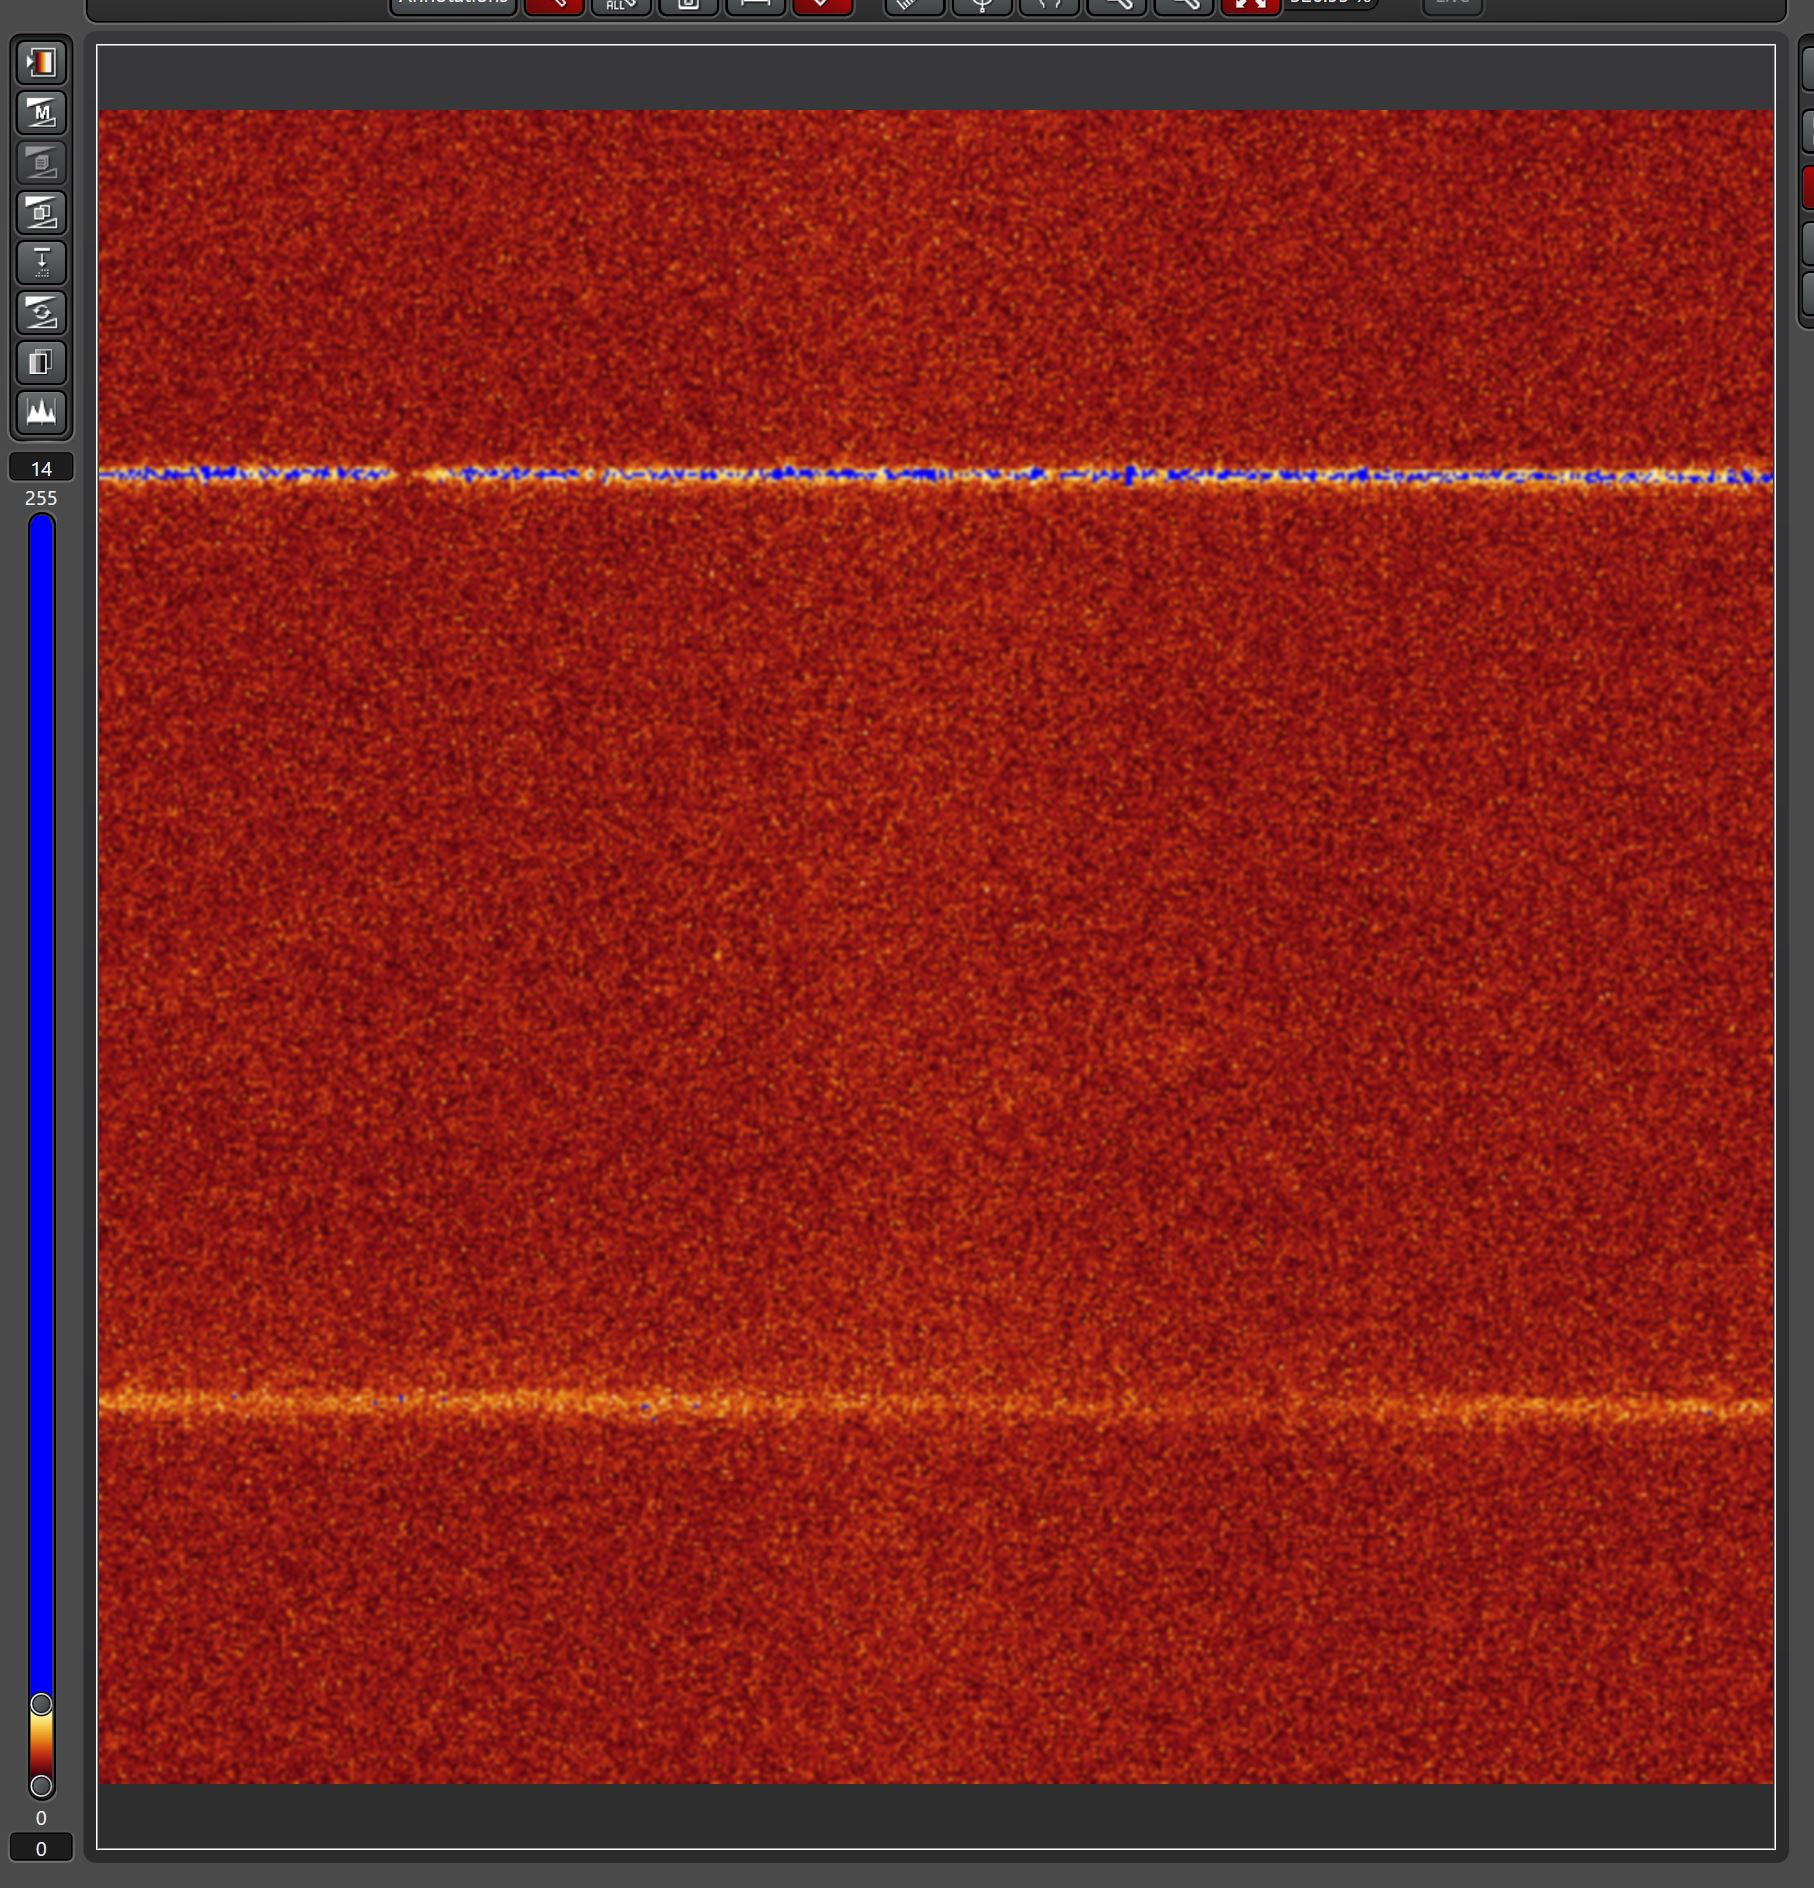
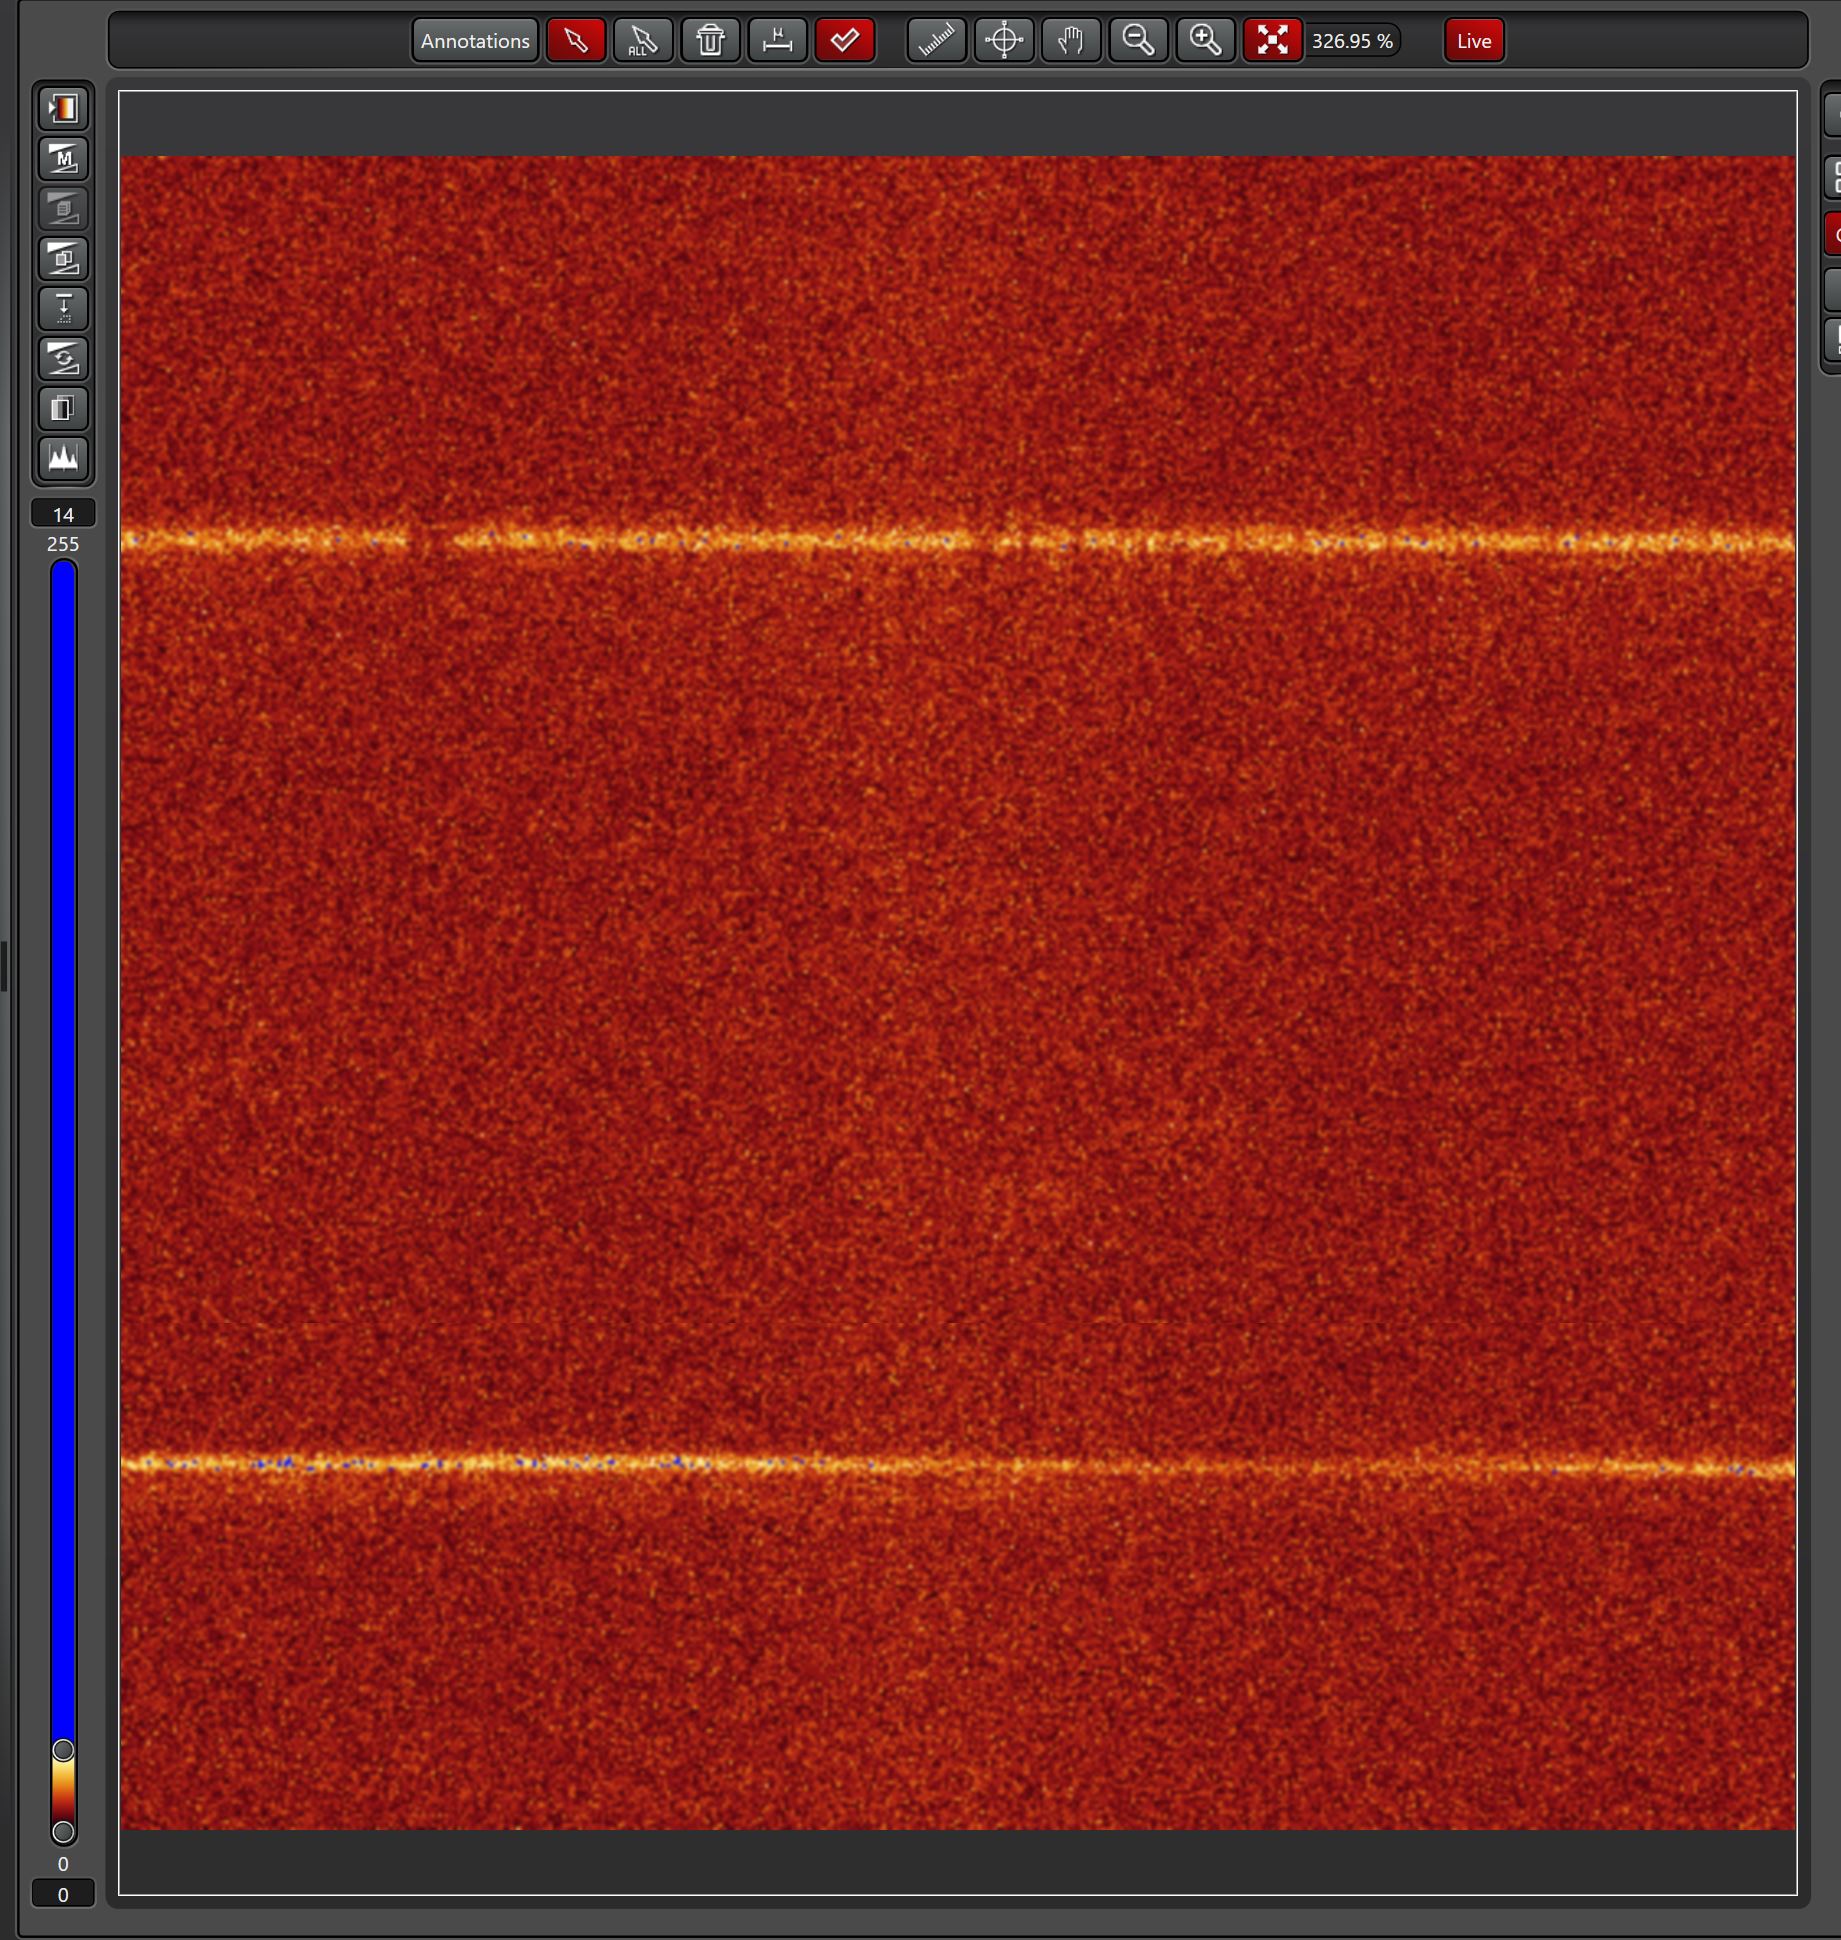
The correction ring at the objective must be adjusted to the thickness of the specimen slide below the specimen.

To guarantee the correct form of the detection volume.

It would be best if you always made this adjustment Adjustment should always be made when you change the specimen carrier. You should also repeat this adjustment if the temperature changes.

Tip
  1. Start LAS X.

  2. Use the objective 86x (water immersion) or the 93x . Add the appropriate immersion to the objective(glycerol immersion).

  3. Set the right imaging parameters and focous focus on your sample.When you open the Setup Corr-ring step in the FCS Wizard, a preconfigured setting of the beam path is loaded. Adjust the settings as follows: •

  4. Click on “SEQ”

    Image Added
  5. In the “Sequential Scan” tab that has been opened, add “SEQ” by clicking “+” and make it between stacks.

    Image Added
  6. In the additional “Seq” you have opened, open one white light laser (WWL) and set it to λ=488 2%. Remove other lasers that you used in the imaging setup in this Seq.

    Image Added
  7. Turn ON the “PMT 3:” detector and give the gain value of 500 V. Close the other detectors you used in the imaging setup in this Seq.

    Image Added
  8. Place the detector underneath the excitation in the following manner:

    Image Added
  9. Go to “AOBS” To reflection:

    Image Added
  10. Select scan mode xz-y (z-Galvo). • .

    Image Added
  11. Set the format to 512 x 512.

  12. Set the zoom to the smallest possible setting . • Select the laser line at 488 nm. •

  13. Use bidirectional scan. • Set the AOBS to reflection. • Enable a SP PMT (no HyD and no SP FLIM PMT). • Adjust the detector range to detect the laser line as well. • Select Glow (O&U) in the color look-up table (LUT). 4. Click the Live image acquisition

    Image Added
  14. Click the “Live” button. A live image of the reflection line is displayed, which . Now you can now optimizeoptimize the collar ring in the “motCORR Collar Settings” tab.

    Image Added
  15. The good setting looks like that.

    Image Added
  16. The bad setting looks like that.

    Image Added
  17. When you are done, click “Set”, go back to “XYZ” and set the dashed white line on the cells.

  18. Remove this “Seq” by clicking “-”

    Image Added