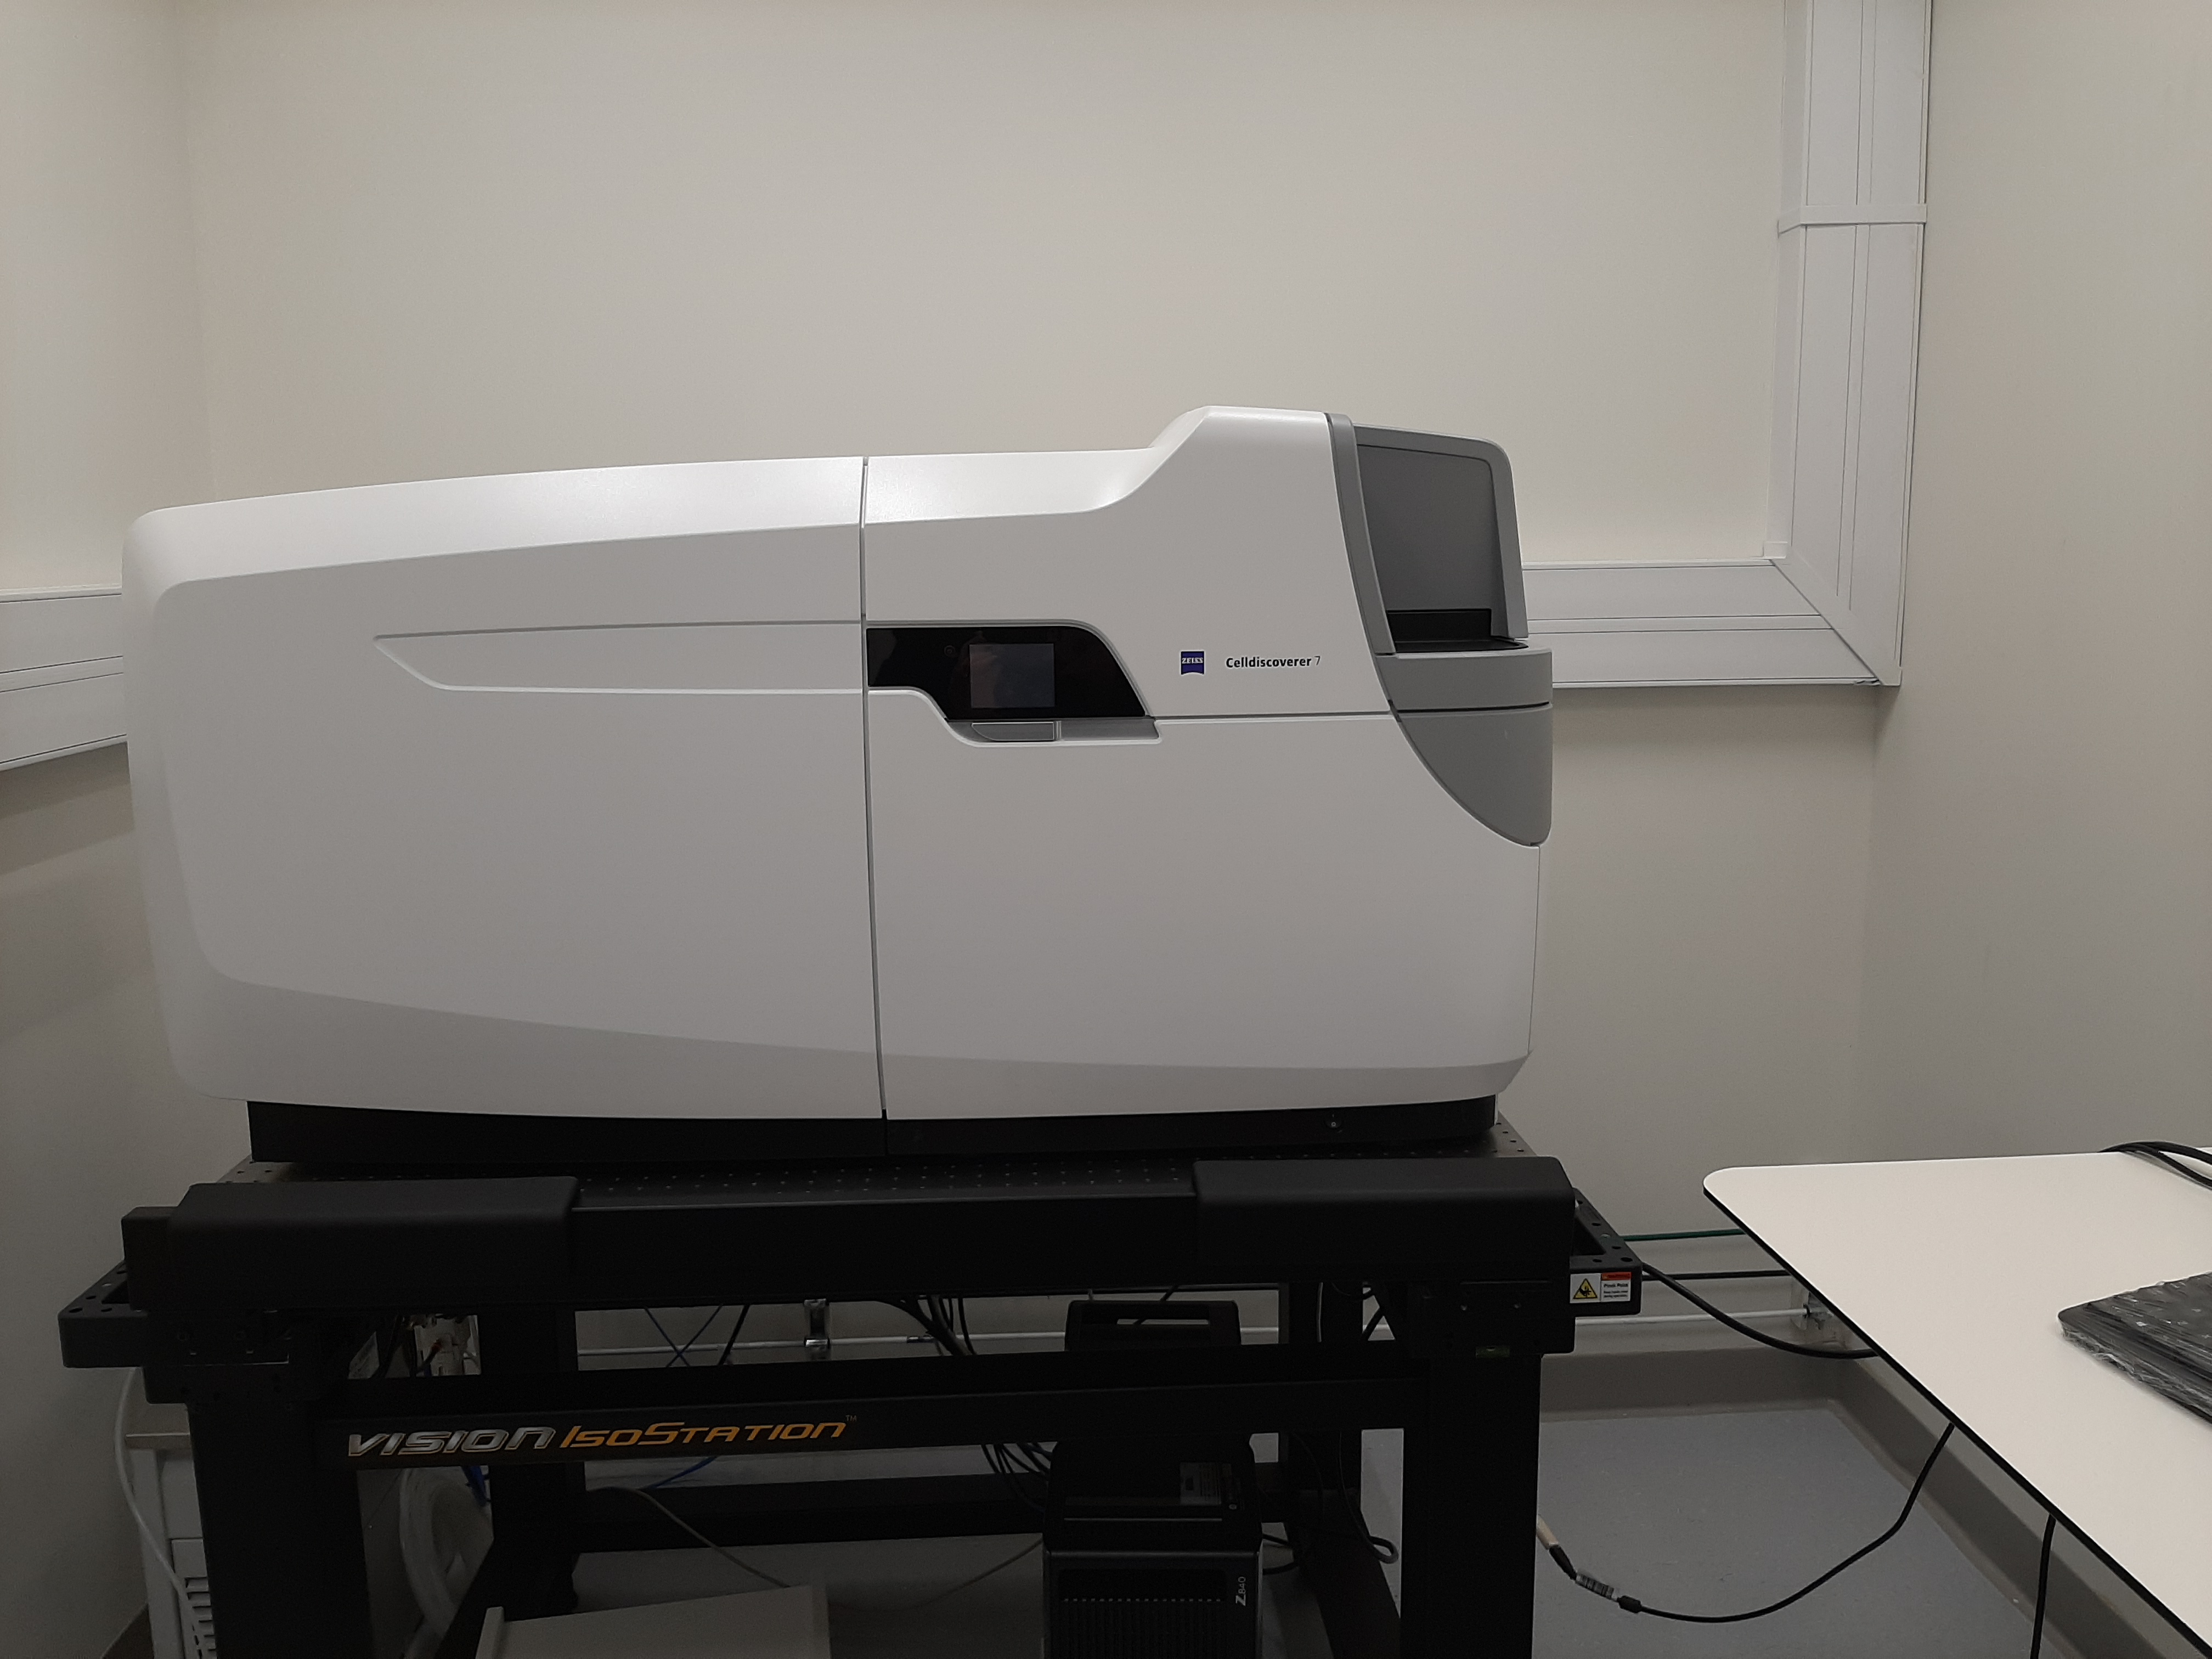
Cell Discoverer 7 (CD7)
- Inna Goliand
Learn more about widefield microscopy:
ZEISS Celldiscoverer 7: Your automated platform for live cell imaging
Frequently Asked Questions:
How do I save and access my data?
Save the data in:
→ open the driver data (D :) “Data_Bioimg”
→ open folder with your Weizmann user name
→ open a new folder with the date (crucial)
→ save the data (characters like ~!@#$%^&*()`;’:<>,/?[]{} are not allowed, and files including them are not copied)
Once you are done, the computer will synchronize the correctly saved data to the “bioimg” server.
To see the data on your PC, follow the instructions in this link: BioImg Storage Server system.
**When starting to work with the Bioimaging system for the first time, please make sure you have a UNIX ID added to your WIS ID (you can check it with your unit administrator)
How do I stitch my tile data?
Go to:
Processing → Method: “stitching” → settings: “1*” → click “New Output” →
Check “Fuse Tiles” + “Correct shading.”
How do I split sense?
Go to:
Processing → Method: “split sense.”
How can I visualize the data on my pc?
Download ZEN LITE
Or you can work on “Maui” or “Capri”, read more on our Image Analysis Software and Workstations.
How do I start?
Turn OFF the computer.
Turn ON the microscope
Wait until the microscope is fully loaded
Turn ON the computer
Enter ZEN software
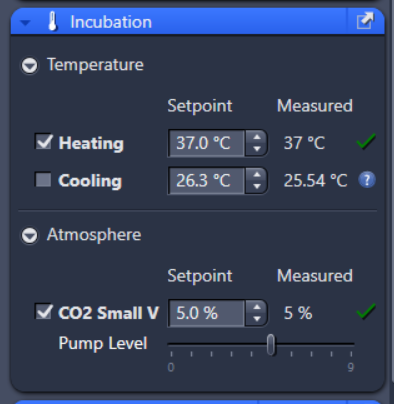
Turn on incubation if needed (put the pump level on “5”)
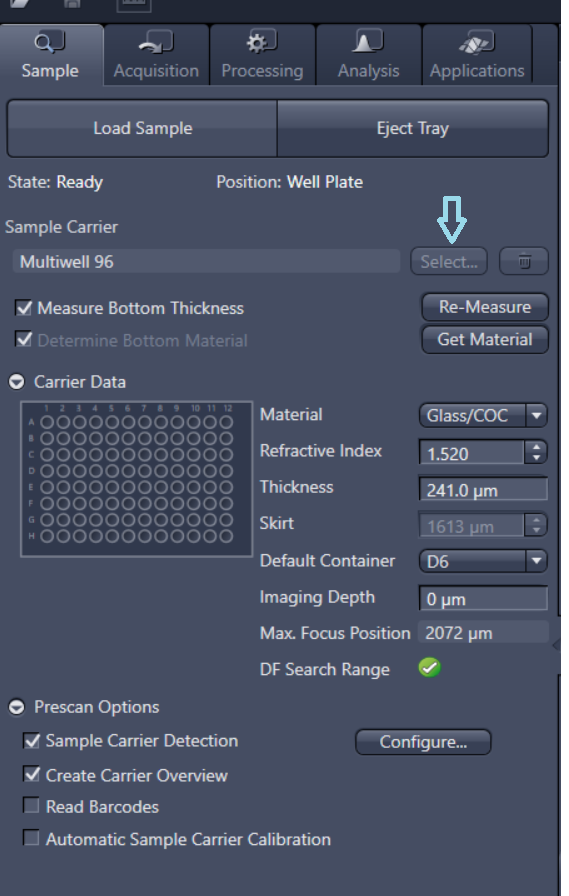
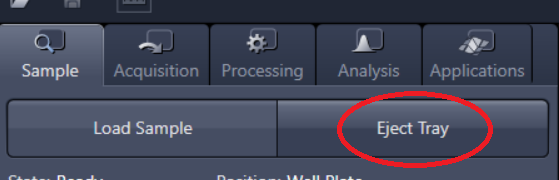
“SAMPLE” tab:
chose the correct sample carrier (blue arrow)
Clean the plate bottom with Ethanol. Make sure the plate is not cracked and is free from debris.
Place the sample in the sample carrier and place it in the tray. **make sure you put it in the right orientation A1”.
Click “LOAD SAMPLE”
Once the loading is done, a “CarrierOverview” image and a “Navigation” tab will be created on the Acquisition tab.
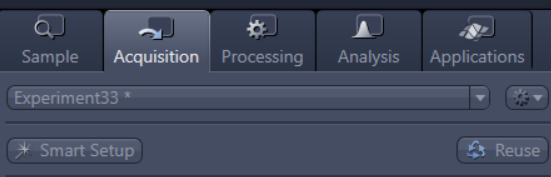
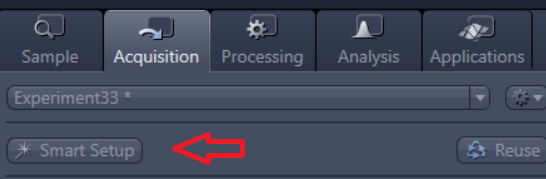
“ACQUISITION” tab: go to “smart setup”
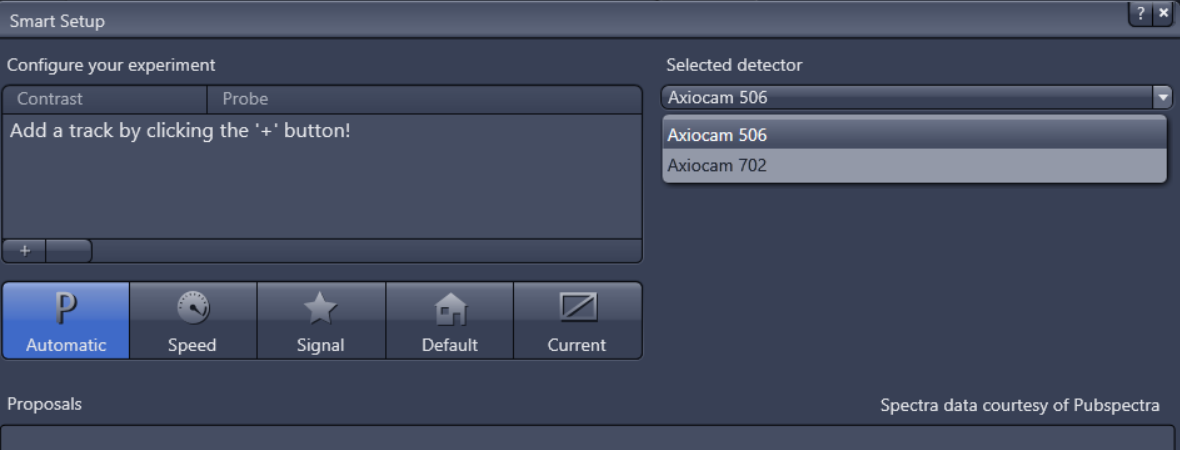
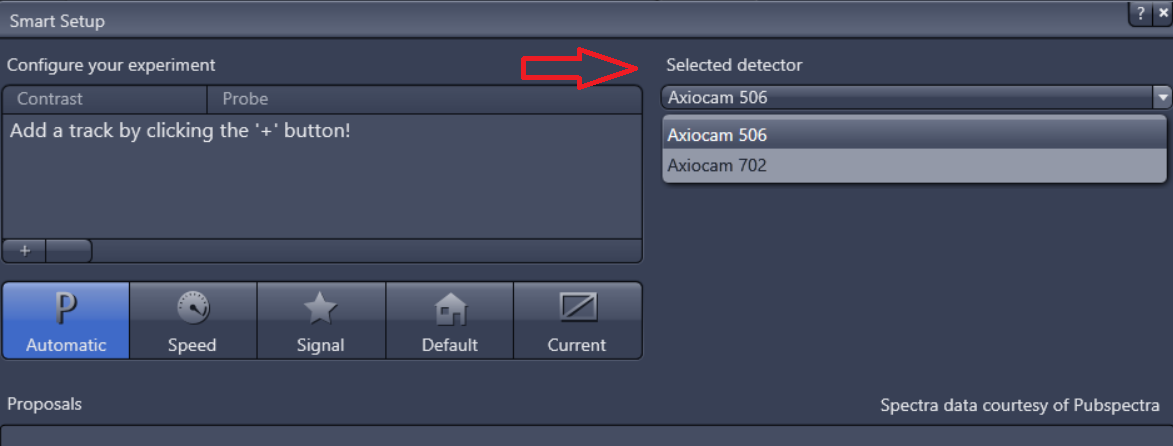
Chose camera “selected detector”
Axiocam 506: CMOS, 2.3 MP: 1920 (H) x 1216 (V), pixel size 5.86 μm x 5.86 μm. Fast, more sensitive for weak signals but noisier with lower resolution.
Axiocam 702: CCD, 6 Megapixel: 2752 (H) × 2208 (V), pixel size 4.54 μm x 4.54 μm. Low noise, high-quality image but slow.
Chose channels by clicking “+” and “Add” at the end
Set intensity and exposure time values per each channel: 10% and 100 ms exposure time is a good start
Start visualizing by clicking “LIVE.”
Focus (hold Ctrl and scroll) at low magnification and then go to higher magnifications if needed.
Build your experiament:
Add Z-Stack
Add Tiles
Add Time Series
Use the right Focus Strategy

